Next we build a basic box. The dimensions must be wide enough to contain your frame rest and frames. On mine it measures exactly 20" inches inside width. Your's will vary slightly depending on the thickness of your frame rest material and how deep you cut the slots. Don't wedge the frames too tight. You want to be able to slide them in and out. I think I said it earlier, but get your glass cut before you finalize this dimension. Your glass cutter may not be precise and it's easier to adjust the frame an 1/8 of an inch than to recut the glass.
The depth of your frame should include the frame rests, glass thickness, glass retainer (wooden beading in my case) and any decorative routing you wish to do. Mine is 3.25" deep.
Height depends on the number of frames. You need 3/4" at the top for joinery and 1.5" at the bottom to allow for joinery, entrance, and feeder access. Overall, you end up with just 1/8" or so at the top above the top frame and 3/4" or so at the bottom below the bottom frame. Mine has 2" at the bottom which the bees partially fill with burr comb.
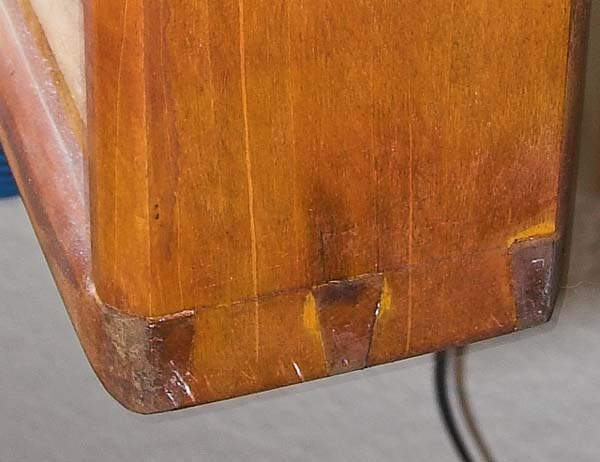
The joinery needs ot be strong, but not necessarily elegant. I used a dovetail on the outside bottom corner. It is strong and helps resist racking. I also glued in a corner block inside for some added strength.
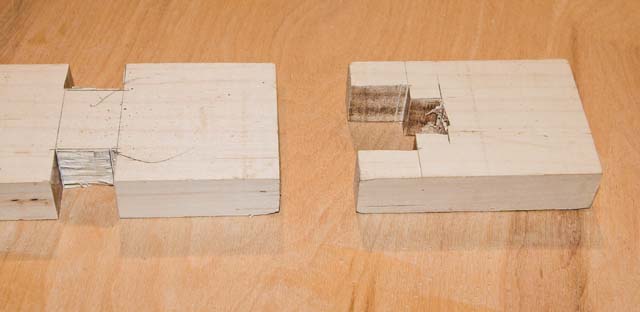
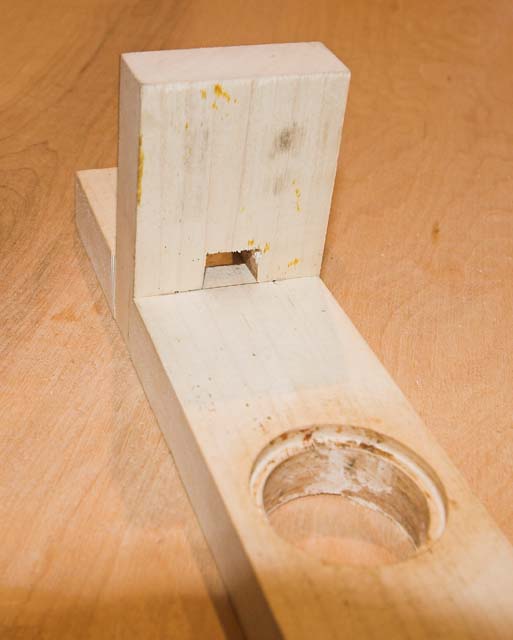
The other bottom corner has to accomodate the feeder if you use one. I used a mortise and tenon joint on mine, but I also devised a joint that can easily be cut with hand tools, or bandsaw as I did. Forgive the sloppy joinery, I hacked it out in a few minutes on a dull bandsaw to get the pictures done. It makes a strong joint with lots of long grain glue surface as well a good mechanical strength. The notch provides the bees with access to the outboard feeder.
The inner top is the same width as the completed frame rest. I drill mine full of holes to provide top ventilation. Don't ask me how I know this, but 1/4" holes are too big. Stick with 3/16" or smaller. Here is how it looks. The blocks glued on top provide an air space under the outer top so the vents work. I made mine about a fat 1/8" thick.
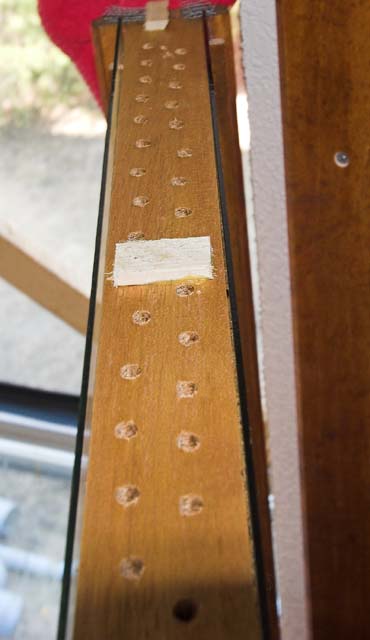
I joined the top to the sides with a box joint using 1/8" spacing. I could have used a dovetail here as well. The screen wire I placed in the ends of the vent openings because I drilled my holes to large. Newly hatched bees can get into the 'attic' and out. I enjoyed a lovely training flight one afternoon in my living room. I waited until they returned to the hive, then stuffed the openings with the screen.

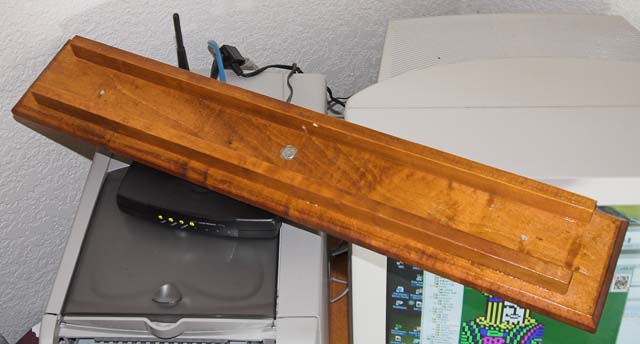
Here is the outer top. It sits on the spacers above the inner top. This creates a small attic space, seals the top edge of the glass, and gives a place to put center pin for the top pivot. It is screwed down into the inner top.
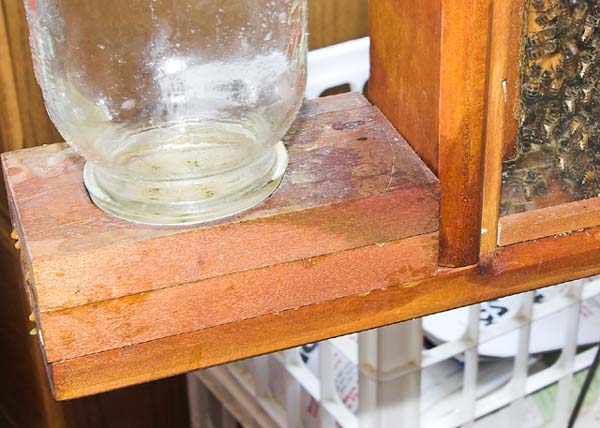
After all of your joinery is complete and dry fitted, you can cut decorative molding on the edges if desired. You can then glue the frame rests to the inside of your case sides. Then assemble with glue and clamp until dry. Make sure you square the case before if dries, otherwise the glass may not fit. Finishing is a personal decision. I used dye stain and shellac on the outside and left the frame rests bare. My glass in held in by 1/4" square wooden strips with 23 ga brads. The feeder is simply a stack of wood, hollowed out to create a space for the bees and open to the case via the slot we cut. I cut the circle for the jar on the bandsaw.